

User Configurations
To have access to your company’s RANGERS, you will need a SignalFire Cloud account user login. Contact your company’s Cloud user admin to set up your account.
If your company does not have an account and you are performing first time setup, complete the SignalFire Cloud Account Setup Form to request a new user account group.
User Settings

Once logged in, select your username in the upper right to change your user settings. Enter your contact phone number and/or email address and enable Alarms to have alarm notifications sent to you. Enable billing to receive reports on which RANGERS are about to expire and need to have their Cloud subscription renewed. After making changes (highlighted in yellow), click Save or Undo to apply or revert the changes made.
Multi-Factor Authentication
Multi-factor authentication (MFA) enhances security by requiring users to provide multiple proofs of identity before accessing an account. Beyond just a password, MFA may ask for verification through a device (a smartphone app like Duo, Google Authenticator, Microsoft Authenticator), adding a crucial layer of protection against unauthorized access.
In the User View, you can select to make MFA setup required or optional from the drop-down shown below.

To enable MFA, select Require MFA checkbox. If you would like to force MFA for each login, Select Force MFA checkbox.

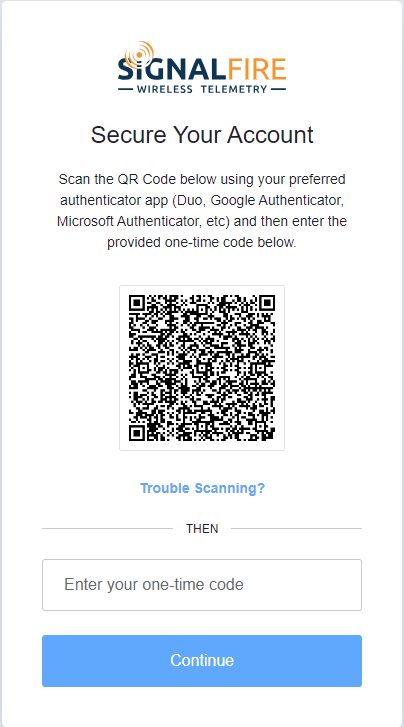
After you have enabled MFA on your account, you will see the following screens after login. Please be sure to follow the instructions on those screens.

User Roles
All users in the group can view any RANGER, but their ability to change settings can be restricted by their user roles. There are five user roles: User Admin, Device Admin, Alarm Admin, Alarm Ack, and Report Admin.
User Admin – Can add, edit, and remove users in the user group, including changing other users’ permissions. The User Admin cannot view anyone’s password, but they may reset the password for a user who forgets theirs. When a password is reset, the user will receive an email to reset their password. It is recommended to restrict the number of users with this permission to as few people as possible.
Alarm Acknowledge – Can acknowledge active alarms.
Alarm Config – Can configure just the alarm settings for RANGERS and users.
Billing Contact – Contact for renewals of cloud subscriptions.
Dashboard Admin – Can create and edit custom dashboards. All users can view created dashboards
Device Control – Can add, edit, and remove RANGERS in the user group, toggle the relay output and initiate firmware updates. Note that device admins can change any settings in any RANGER without restriction.
Power Chart Admin – Can create and edit Power Charts. All users can view Power Charts
Remote Sensor Config – Can configure Sensors settings remotely. This applies to HART sensor configuration using PACTware or other FDT software.
Report Admin – Can add, edit, and remove automated reports.
Subgroup Admin – For accounts that are subscribed for Sub accounts, this role allows the user to add, delete and configure sub accounts.
User View
A list of users in the group can be viewed by clicking on the Users icon in the top menu. User Admins will be able to edit any user by clicking on the “Edit User” button. This will bring up the same User Settings as shown above, with an additional option to delete the user.
Adding Users

User Admins may add additional users in the User view by clicking “Create User” from the Actions dropdown in the upper left-hand corner. Fill in the fields, configure permissions, and click “Create”. The new user will receive a verification email. Once they have received that email they can continue to the login page.